Using Rancher Desktop to run Kubernetes
Docker Desktop is normally the go-to option for running containers on the desktop. However it now requires a paid subscription for large companies (it remains free for individuals and small companies). That prompted some people to look for an alternative.
In my case, I ran into an issue with excessive CPU usage. It seems others have too.
Rancher Desktop looks like a potential alternative. It is free, open source, and it’s built on other open source projects. So I gave it a try. Visit https://rancherdesktop.io/ and click the appropriate download link for your OS. It is available for Mac (Intel and Apple Silicon), Windows and Linux. In my case, I picked the Mac.
Once installed, it sets itself up, downloading additional files as needed. That can take some time. The good news: there’s no need for brew and its often painful, lengthy delays in running updates. It already includes all the tools we need such as kubectl, helm and nerdctl (nerdctl is the equivalent of the docker CLI command).
Note: If you would prefer to continue to type docker you could create an alias to that command in your shell using alias docker=nerdctl.
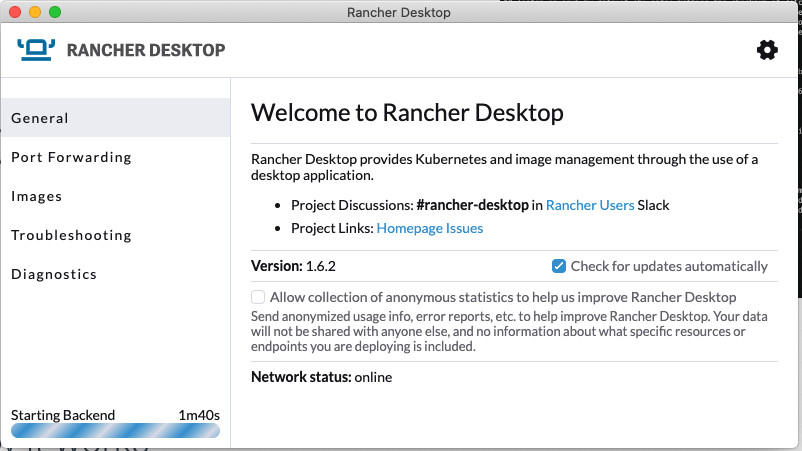
Once it’s ready you will see the main menu on the left-hand side. That shows your available images, port forwarding, diagnostics, and so on:
Perhaps more useful is the settings screen, got to via the grey cog icon in the top-right corner. There you can configure its permissions, path, size of the virtual machine, and the version of Kubernetes you want to run:
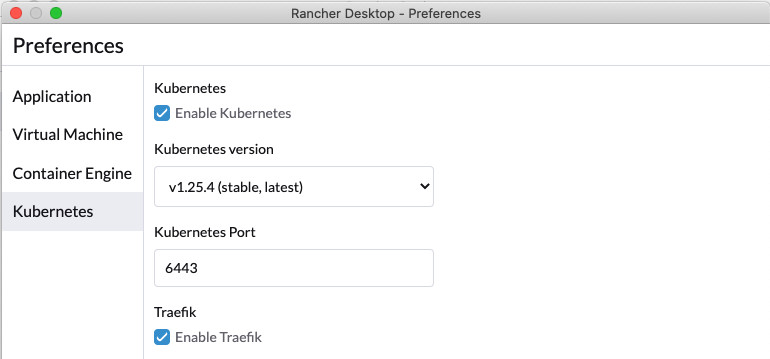
I’ve used its default ingress controller, Traefik. If you want to use your own (often Nginx) you can simply untick that box.
Dashboard
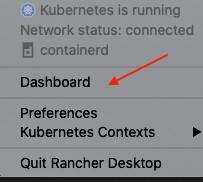
Open the Rancher Desktop dashboard using the menu option:
You should see it opens to show your local Kubernetes cluster. Every cluster has at least one worker node. Since you will be running this on your local desktop, you will have just that one node:
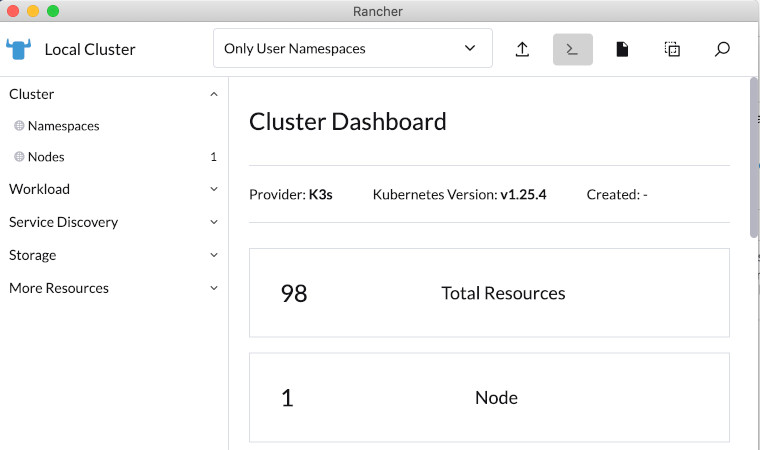
On the left-hand side are expandable panels for all the various Kubernetes resources (Services, Deployments, Secrets, and so on). If you click on one it shows a nice, simple UI. There’s also a button in the top-right corner to create a new one. That would ask for the values it needs (its name, the image to use, and so on).
Or you can use the Kubernetes command-line tool called kubectl and simply use the graphical UI for a visual representation of your cluster. For this blog, I’ll stick to the CLI as the various buttons on that dashboard are reasonably self-explanatory.
In the next post I’ll deploy a sample app to my new Kubernetes cluster.